
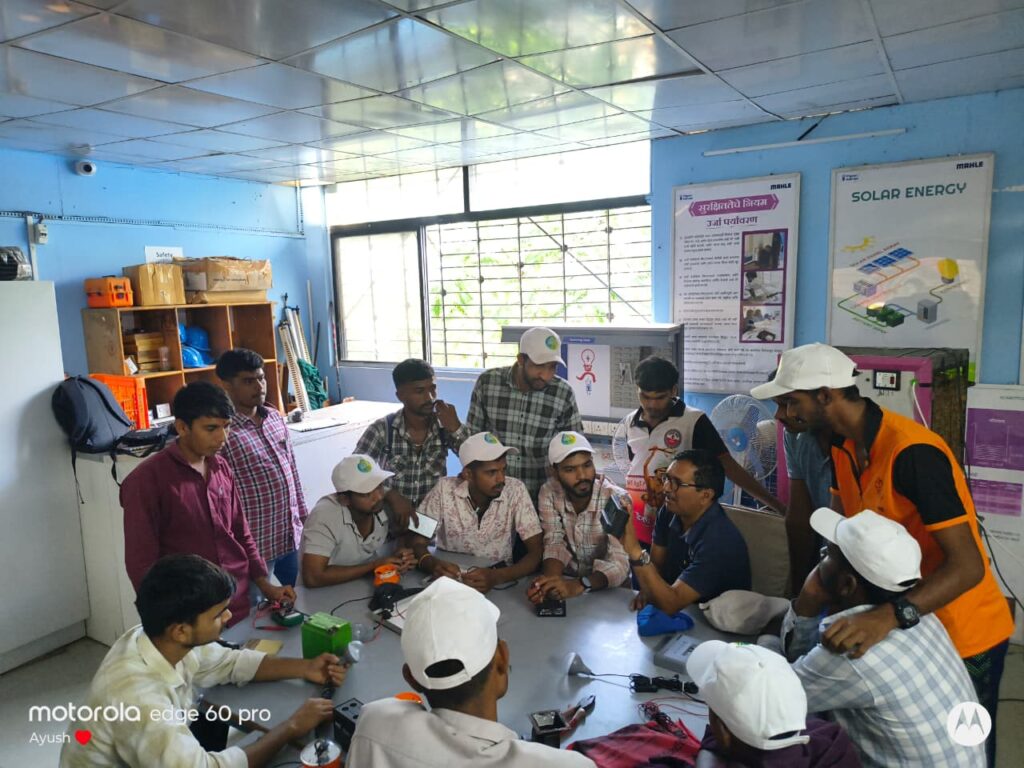
Small Solar System Installation using a 6-Watt Solar Panel and Charge Controller
- Introduction
Today, I am working on the installation of a small solar energy system. The purpose of this activity is to learn how solar energy is converted into electrical energy and how a battery can be charged using a solar panel. The system can be used to power small DC devices, such as an LED light.
Important: A charge controller is generally rated in amperes (A), while a solar panel is rated in watts (W). Check whether your component is a 6 W solar panel or a 6 A charge controller before making the connections. - Objectives
- To understand the working principle of a solar energy system.
- To learn the basic connections of a solar panel and charge controller.
- To understand how a battery is charged using solar energy.
- To test the system using a small DC load.
- To learn basic electrical safety and troubleshooting.
- Materials Required
- Solar panel (6 W, if this is the panel rating)
- Solar charge controller
- Compatible rechargeable battery
- DC LED light
- Connecting wires
- Fuse and fuse holder
- Multimeter
- Screwdriver and wire stripper
- Installation Procedure
Step 1: Identify the Components
Check the ratings of the solar panel, charge controller, battery, and LED light. Ensure that their voltage ratings are compatible.
Step 2: Select the Location
Choose an open area where the solar panel receives direct sunlight without shadows.
Step 3: Install the Solar Panel
Fix the solar panel securely on a suitable frame and position it to receive maximum sunlight.
Step 4: Connect the Battery
Connect the battery to the charge controller’s battery terminals, following the manufacturer’s instructions and correct polarity.
Step 5: Connect the Solar Panel
Connect the solar panel’s positive (+) and negative (−) wires to the corresponding solar input terminals on the controller.
Step 6: Connect the LED Light
Connect a compatible DC LED light to the controller’s load terminals, if provided. Check its voltage and current requirements.
Step 7: Test the System
Place the panel in sunlight and use a multimeter to check the voltage. Observe the controller’s charging indicator and test whether the LED light operates correctly. - Working Principle
Solar Panel
Converts sunlight into DC electricity
Solar Charge Controller
Regulates battery charging
Rechargeable Battery
Stores electrical energy
DC LED Light
Uses the stored energy
- Safety Precautions
- Confirm the battery voltage and chemistry are supported by the controller.
- Connect the battery first only if the controller’s manual specifies this sequence.
- Use a suitable fuse near the battery’s positive terminal.
- Avoid short circuits and reversed polarity.
- Never connect a battery directly to a solar panel without a suitable charging arrangement.
- Expected Outcome
After completing the installation, the system should convert solar energy into electrical energy, charge the compatible battery, and operate the LED light when sufficient energy is available. - Conclusion
Today’s activity provides practical knowledge of solar energy, electrical wiring, battery charging, and renewable energy systems. It also helps develop basic installation, testing, and troubleshooting skills.